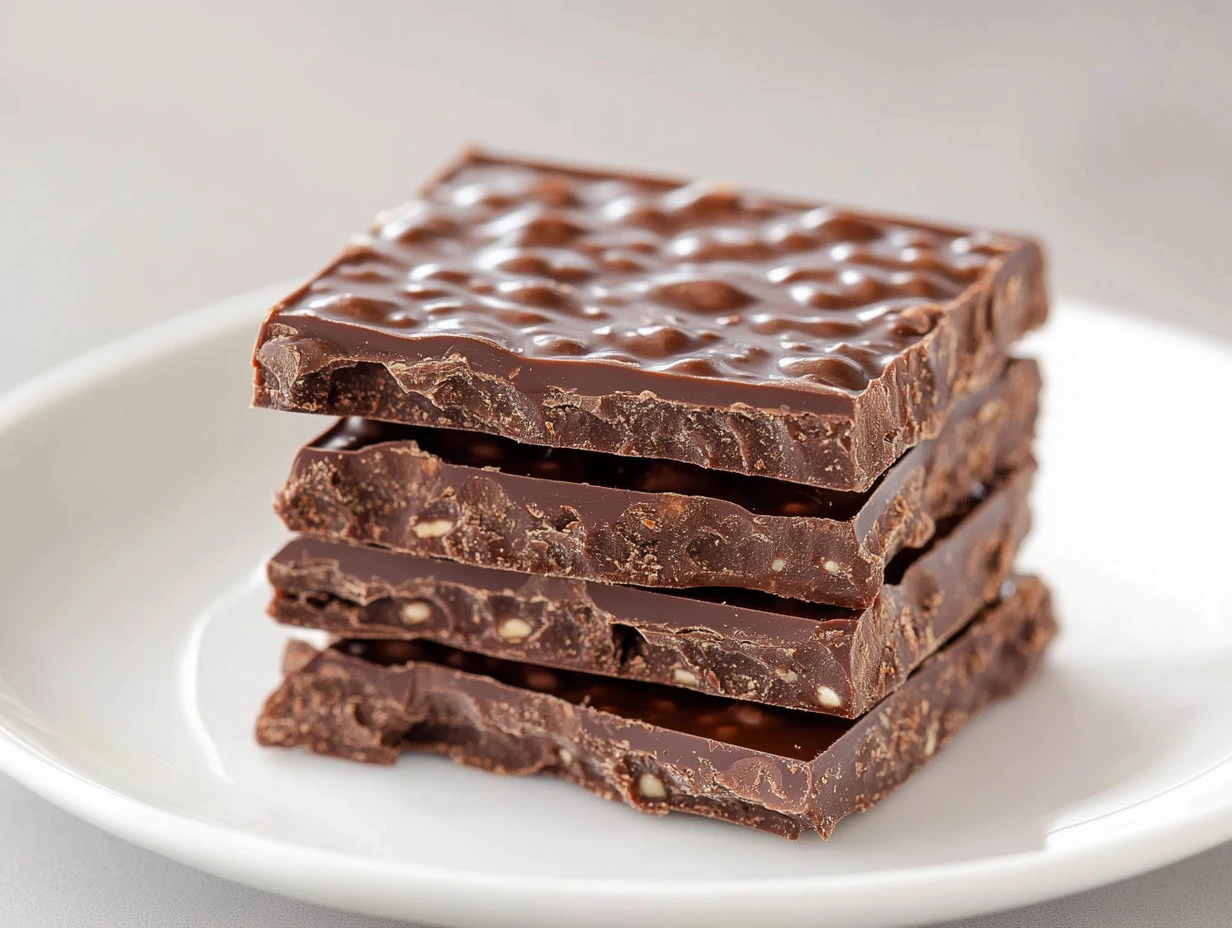
When it comes to simple and delicious no-bake desserts, nothing beats the homemade crunch bar! This treat is not just popular; it’s downright viral, and here’s why everyone is falling in love with it!
Why Make This Recipe
If you’re someone who loves treats but doesn’t want to spend hours in the kitchen, homemade crunch bars are the perfect choice for you. They are easy to whip up with just a few ingredients, and the best part? You don’t need to turn on the oven! These bars are sweet, crunchy, and packed with flavor. Whether you want a quick snack for yourself, a dessert for a gathering, or a lunchbox surprise for the kids, these bars fit the bill perfectly.
Recipe Overview
Servings: 16 bars
Preparation Time: 15 minutes
Cooking Time: 5 minutes
Cooling Time: 30 minutes
Total Time: 50 minutes
How to Make Homemade Crunch Bars
Making homemade crunch bars is a breeze! Just gather your ingredients and follow these simple steps.
Ingredients:
- 2 cups rice cereal
- 1 cup chocolate chips
- 1/2 cup peanut butter
- 1/4 cup honey
- 1/2 teaspoon vanilla extract
Directions:
- In a saucepan over medium heat, combine the peanut butter and honey until melted and well blended.
- Stir in the vanilla extract.
- Remove from heat, and mix in the rice cereal and chocolate chips until everything is evenly coated.
- Press the mixture into a lined 8×8 inch baking dish.
- Refrigerate for at least 30 minutes until set.
- Cut into bars and serve.
How to Serve That Recipe
Serving your homemade crunch bars is just as simple as making them! You can serve them as a tasty snack at parties, crumble them over ice cream for a fun twist, or enjoy them with a glass of milk. They also make a great grab-and-go option for busy mornings or afternoon cravings. To impress your guests, try stacking them on a platter or wrapping them in colorful paper as a thoughtful treat!
How to Store
Storing your homemade crunch bars is easy! Once they are completely cooled and cut, place them in an airtight container. You can keep them at room temperature for up to a week. If you want them to last longer, you can refrigerate them for up to two weeks or even freeze them for up to three months. Just be sure to separate the bars with parchment paper to prevent them from sticking together!
Tips to Make Homemade Crunch Bars
- Use natural peanut butter: For a healthier option, opt for natural peanut butter. It has no added sugars or oils, making the bars less sweet but more wholesome.
- Experiment with toppings: Add sprinkles, nuts, or dried fruits to customize your crunch bars.
- Check for sticking: When pressing the mixture into the pan, be sure to wet your hands slightly. This helps prevent the mixture from sticking to your fingers.
Variations
Get creative with your crunch bars by trying out these variations:
- Chocolate Flavor: Add cocoa powder to the rice cereal mixture for a rich chocolatey version.
- Nutty Delight: Include chopped nuts or seeds for an added crunch and nutritional boost.
- Holiday Themed: Add festive sprinkles or toppings according to the season for a fun holiday treat.
Tips for Success
- Don’t overheat the mixture: Heating the peanut butter and honey too much can cause the mixture to become too runny.
- Use a clean spatula: To help press down the mixture evenly, use a clean spatula that has been sprayed with cooking spray.
- Cool completely: Make sure to let the bars cool completely in the fridge to ensure they hold their shape when sliced.
How Many Servings
This recipe makes approximately 16 bars, perfect for sharing with family and friends or for stocking up your own snack drawer!
Calories and Nutrition Facts per Serving
- Calories: 150
- Protein: 3g
- Fats: 8g
- Carbohydrates: 18g
- Fiber: 1g
- Sodium: 50mg
Health Benefits of Homemade Crunch Bars
Homemade crunch bars can be a great snack option compared to store-bought treats. They often contain wholesome ingredients like peanut butter and honey, which provide energy and nutrients. Peanut butter is rich in protein and healthy fats, while honey is a natural sweetener that offers antioxidants. Plus, with the addition of rice cereal, they create a balance of carbs that can help keep you energized throughout the day!
Is It Good for People Over 60 Years Old?
Certainly! Homemade crunch bars can be a great snack for people over 60. The wholesome ingredients can provide energy and are easy to chew, making them a good option. However, those with dietary restrictions, such as diabetes, should be mindful of the sugar content. Opting for natural peanut butter and reducing the amount of honey can make this treat healthier while still being delicious.
FAQs
1. Can I use a different type of cereal?
Absolutely! While rice cereal is traditional, you can experiment with other cereals like cornflakes or even granola to change the texture and taste of your bars.
2. How do I make these bars vegan?
To make a vegan version, simply replace honey with maple syrup or agave nectar and ensure your chocolate chips are dairy-free.
3. Can I add protein powder to the bars?
Yes! Adding a scoop of protein powder can increase the nutritional value of the bars, making them even more satisfying, especially post-workout.
In conclusion, homemade crunch bars are not just a delicious treat; they are also very easy to make, and you can customize them to your liking. Give them a try today! You’ll soon see why this simple recipe has become a viral favorite. Enjoy every crunchy, chocolaty bite!